How to Split Screen on Mac: Native Methods & Keyboard Shortcuts
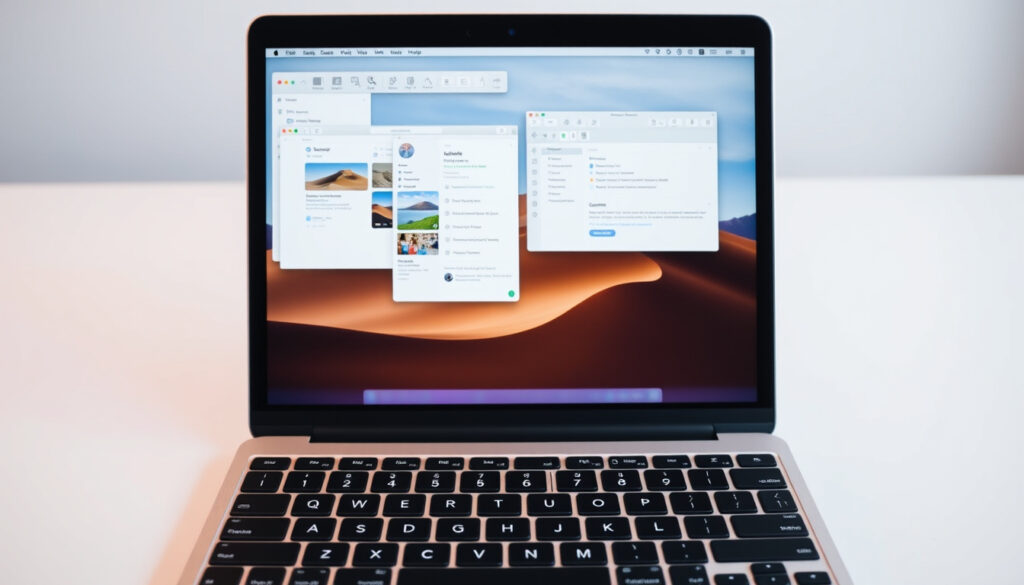
You’ve got two apps open on your Mac and you wish you could see them both at once without clicking back and forth. That’s exactly what Split View does, and it’s built right into macOS—no extra software needed. In this guide, you’ll learn the fastest ways to split your screen using the green button, keyboard shortcuts, and even an external monitor setup.
macOS version introduced Split View: OS X El Capitan (2015) · Shortcut method uses modifier keys: Fn + Control + Left/Right Arrow · Maximum windows in a single Split View pair: 2 · Number of steps to start using Split View: 3
Quick snapshot
- Split View is a native macOS feature since OS X El Capitan (Apple Support YouTube)
- Users can enter Split View by hovering over the green button and choosing a tiling option (Apple Support YouTube)
- Fn + Control + Left/Right Arrow is a default keyboard shortcut on most Macs (Apple Support documentation)
- Whether the shortcut works identically on all Mac models with Touch Bar (Apple Support YouTube)
- Whether third-party apps are necessary for 4-way split screen on older macOS versions (Gechic guide)
- Split View debuted in OS X El Capitan (2015) (Apple Support YouTube)
- Fn + Control + Arrow shortcuts have been standard since later macOS versions (Gechic)
- Apple may refine Split View in future macOS releases to support more than two windows natively (Mobile Pixels)
- Third-party tools like Rectangle and Magnet continue to offer advanced tiling that native Split View doesn’t cover (Gechic)
Five key facts, one pattern: the native tools are free and fast, but third-party utilities unlock more layouts.
| Label | Value |
|---|---|
| Introduced in macOS version | OS X El Capitan 10.11 (2015) |
| Native shortcut keys | Fn + Control + Left/Right Arrow |
| Green button location | Top-left corner of any window |
| Supported apps per session | 2 (side-by-side) |
| Third-party alternatives | Rectangle, Magnet, BetterSnapTool |
The table shows that native Split View is deliberately limited to two apps, which is where third-party tools fill the gap.
How do I split my screen into two screens on Mac?
Using the green button method
- Position your cursor over the green full-screen button in the top-left corner of any window (Apple Support YouTube).
- From the dropdown, choose either Tile Window to Left of Screen or Tile Window to Right of Screen.
- macOS will then dim the other half and show thumbnails of all open apps that support Split View. Click the second app to join the split session.
Tiling windows left or right
- Alternatively, you can drag a window to the left or right edge of the screen until you see a translucent outline – that also triggers Split View (Mobile Pixels).
- Release the mouse and pick the second app from the exposed half.
The green-button method is the most discovery-friendly, but it only works for apps that natively support full-screen mode. Some lightweight windows (calculator, mini players) refuse to play ball.
The implication: casual users get a smooth experience, but power users hit limits fast.
What is the shortcut for split screen on Mac?
Keyboard shortcut using Fn + Control + Arrow
- On most Macs, pressing Fn + Control + Left Arrow sends the active window into the left half of Split View; Fn + Control + Right Arrow sends it to the right half (Apple Support documentation).
- This shortcut works across MacBook Air, MacBook Pro, iMac, and Mac mini – though models with a Touch Bar may require you to use the on-screen Control key if the hardware Fn key is reassigned (Gechic).
Trackpad gesture with three-finger swipe up
- Swipe up with three fingers (or four fingers, depending on your trackpad settings) to open Mission Control (Apple Support YouTube).
- Then drag a window onto the thumbnail of a full-screen app in the Spaces bar at the top.
- This is an alternative way to enter Split View without clicking the green button.
The keyboard shortcut becomes a real time-saver once you memorize it – you can tile windows without lifting your hands from the keyboard. For power users, that difference adds up fast.
The pattern: Apple gives you multiple paths to the same result, but the keyboard route rewards muscle memory.
How do I use two screens with my Mac?
Connecting an external monitor
- Plug your external display into the Mac using a compatible cable (HDMI, USB-C, or Thunderbolt) (Apple Support documentation).
- If the display isn’t recognized, try holding the Option key while clicking “Detect Displays” in System Settings > Displays.
- Apple recommends checking your Mac’s technical specifications to confirm how many external displays it supports (Apple Support).
Extend display vs mirror display
- In System Settings > Displays > Arrangement, you can choose to Extend your desktop (separate spaces on each screen) or Mirror (show the same content on both) (Apple Support).
- With an extended desktop, you can run Split View on each display independently – that gives you up to four apps side by side without any third-party tool.
An external monitor essentially doubles your Split View real estate. You can have two apps on the laptop screen and two more on the external display, all in native Split View.
What this means: a single external monitor turns a two-app limit into a four-app workflow without spending a dime on software.
How to view 2 pages side by side in Mac?
Using Split View with the same app
- Some apps like Safari and Pages allow you to open multiple independent windows. Open two windows of the same app (Apple Support YouTube).
- Tile one to the left and the other to the right using the green button method or the Fn + Control + Arrow shortcut.
Using two separate windows of the same app
- For apps that don’t natively allow multiple windows (e.g., some System Preferences panes), you may need to use a third-party tool like Rectangle (Gechic).
- Rectangle offers keyboard-driven tiling without requiring full-screen mode, so you can place two windows from the same app side by side.
The catch: native Split View works for multi-window apps, but single-window apps force you into third-party territory.
How to split screen on mac with the same app?
Safari tabs side by side
- Open two separate Safari windows (File > New Window or Command+N) (Apple Support YouTube).
- Enter Split View with the green button: choose Tile Window to Left on the first window, then select the second Safari window from the right-hand pane.
Pages documents side by side
- Similarly, open two Pages documents in separate windows and tile them using the same method (Apple Support documentation).
- This works for any multi-window-capable app: Preview, Notes, Mail, etc.
The pattern: if an app lets you open two windows, Split View treats them as independent apps.
Step-by-Step Guide
- Ready the apps: Open the two apps or windows you want to place side by side.
- Activate Split View: Hover over the green button (top-left) and pick Tile Left or Tile Right, or press Fn + Control + Left/Right Arrow.
- Select the second app: Click the second app thumbnail from the remaining half of the screen.
- Adjust the divider: Drag the center seam to resize the two panes as needed.
Confirmed facts
- Split View is native to macOS since El Capitan (Apple Support YouTube).
- Green-button tiling and Fn+Control+Arrow shortcuts both work (Apple Support).
- External monitors extend Split View to four apps (Apple Support).
What’s unclear
- Whether the Fn+Control+Arrow shortcut works on all MacBook Pro models with Touch Bar without extra configuration (Gechic).
- If older macOS versions (pre-El Capitan) can achieve split-screen without third-party software (Mobile Pixels).
“You can also enter Split View from Mission Control by dragging a window onto the thumbnail of a full-screen app in the Spaces bar.”
Excerpt from Apple Support YouTube — How to use Split View on Mac
“Pressing Control + Arrow Up opens Mission Control, then drag a window to the top bar to create a split. Many users don’t know that method, but it works great with an external monitor.”
Community tip shared on Reddit (via Mobile Pixels)
The pattern is clear: Apple’s native Split View handles the most common two-app workflow, but anyone who regularly needs three or four windows should invest in a third-party manager like Rectangle. For the average Mac owner, the green button method is the easiest on-ramp, while the Fn+Control+Arrow shortcut rewards those who want to stay on the keyboard. The choice is simple: if you value convenience, go native; if you value flexibility, go third‑party.
Related reading: Master MacBook Shortcuts to Handle Multi-tasking Windows · How to Split Screen on Mac
Frequently asked questions
Can I use Split View with more than two windows?
Not natively. Split View is designed for exactly two side-by-side apps. To manage three or more windows simultaneously, you’ll need a third-party tiling tool such as Rectangle or Magnet.
How do I exit Split View on a Mac?
Press the Escape key, or move your cursor to the top of the screen to reveal the green button and click it again. You can also swipe up with three fingers to open Mission Control and click the desktop thumbnail.
Does Split View work on all Mac models?
Yes, any Mac running OS X El Capitan (2015) or later supports Split View. This includes MacBook Air, MacBook Pro, iMac, Mac mini, and Mac Pro.
Can I resize windows in Split View?
Yes. Once in Split View, drag the vertical divider between the two apps to adjust how much space each occupies.
What is the difference between Split View and Mission Control?
Split View places two apps side by side in a single full-screen space. Mission Control gives you an overview of all open windows and Spaces; you use it to enter or exit Split View by dragging windows.
How to use Split View on Mac with an external monitor?
Connect the external display and set it to Extend Desktop in System Settings > Displays. Then you can use Split View independently on each screen, giving you up to four app windows.
Why can’t I see the green button option for Split View?
Some apps (e.g., Calculator, Activity Monitor) do not support full-screen mode and therefore won’t show the Split View options. Try using Mission Control or a third-party tool instead.
Is there a way to split screen on Mac without using the green button?
Yes. Use the keyboard shortcut Fn + Control + Left/Right Arrow, or open Mission Control (F3 or three-finger swipe up) and drag a window to the Spaces bar to create a split.
Meer gerelateerde berichten
 Angelina Jolie Movies List: Full Filmography in Order
 Best Books of All Time: Top 10, Most Read & Essential Classics
 What Time is it in Vietnam? Current Local Time & Practical Guide
 Panama Security Agreement Protests Mulino: Why Panamanians Are Protesting
 Anna’s Wild Yam Cream: Does It Work? Benefits, Side Effects
 Kubo and the Two Strings: Plot, Cast, Kids Guide & More
 How Much Ibuprofen Can I Take? Dosage, Safety & Warnings
 Ovation of the Seas Guide: Features, Capacity & 2026 Itineraries